Billing Plans Walkthrough
Easily set up recurring billing plans.
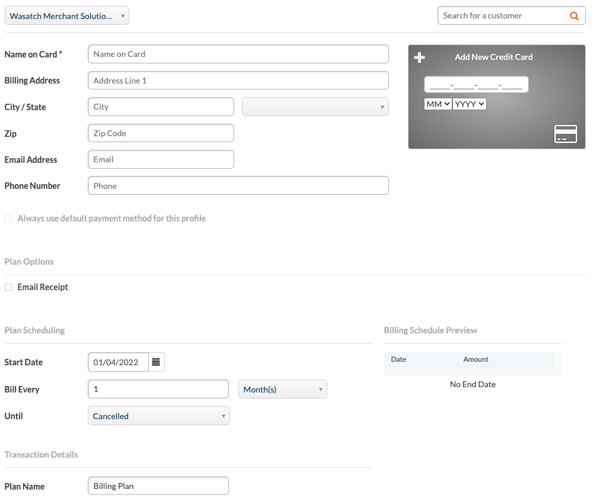
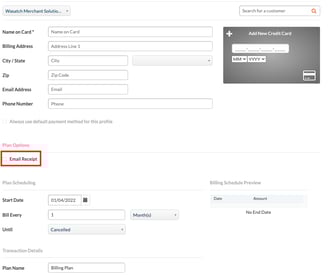
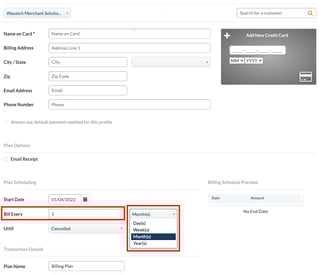
STEP 1
Enter the customer information, including card info in the red box.
Or search for an existing customer in the blue box.

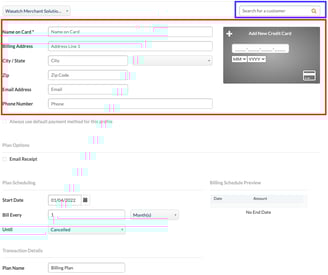
STEP 2
Check the "Email Receipt" box if you'd like the customer to automatically be emailed a receipt for each recurring transaction.

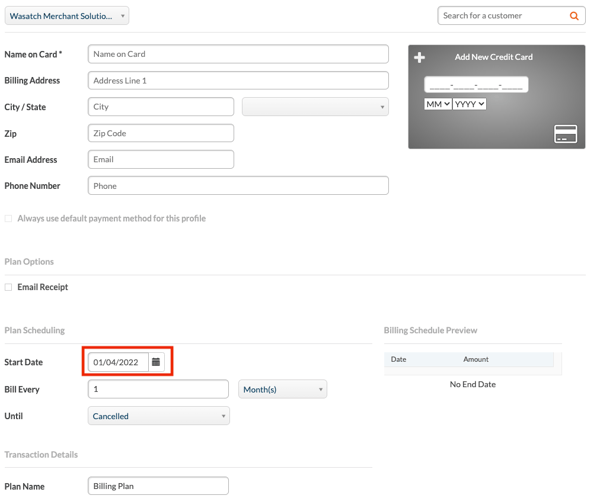
STEP 3
Select the first date for the billing plan to start.
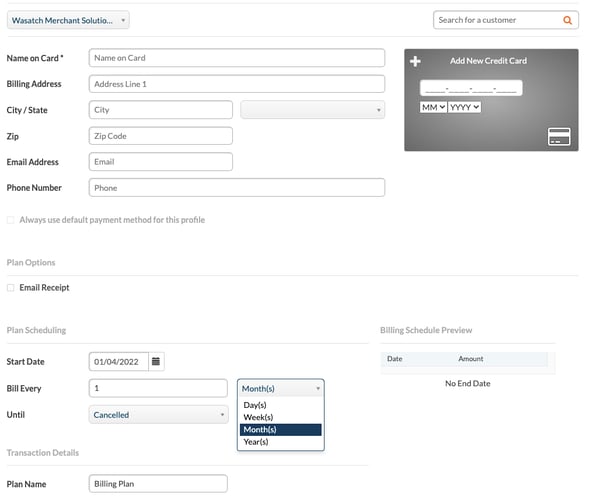
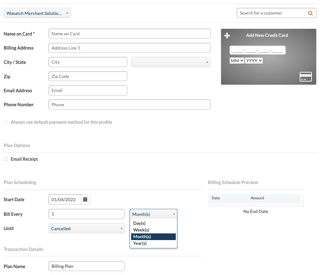
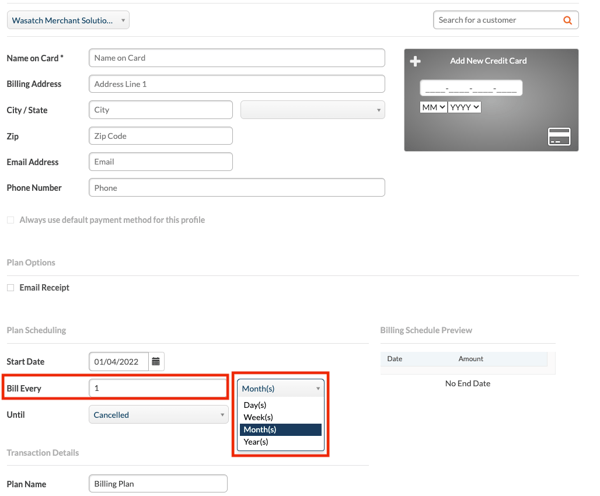
STEP 4
Select how often you'd like the billing plan to run. You can choose the time period and how many between each transaction.
Some examples include: every 30 days, every 1 month, every 1 year, every 3 months, every 2 weeks, etc. So many different possibilities to offer maximum flexibility to your customers.
STEP 5
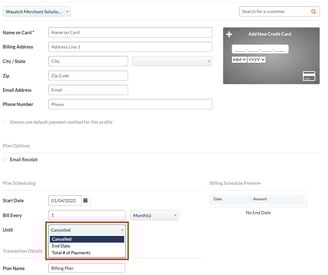
Select when you'd like the plan to stop processing automatically.
Select "Until Cancelled" to keep the plan going until it is manually cancelled.
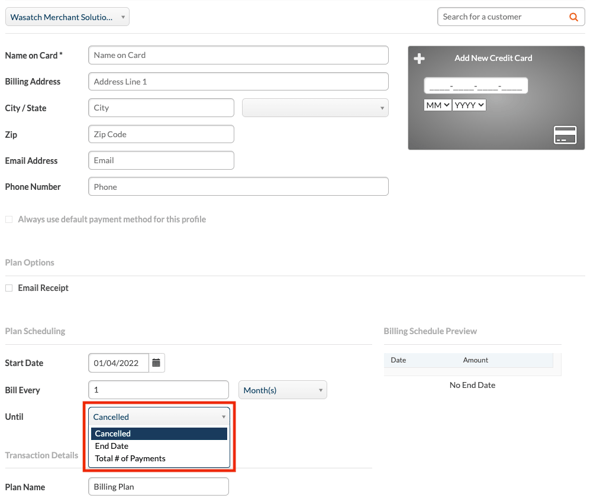
STEP 6
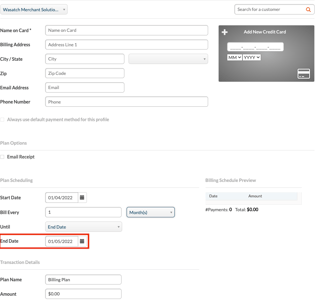
Select "Until End Date" to keep the billing plan active until a specific date.

STEP 7
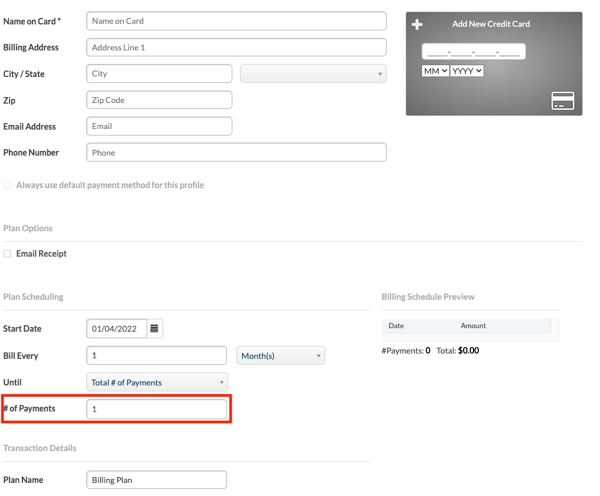
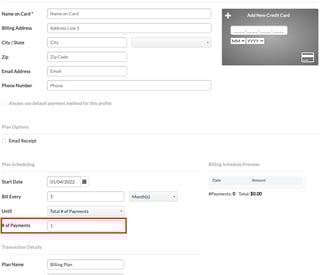
Select "Until # of Payments" to keep the billing plan active until a certain number of payments have been made.
STEP 8
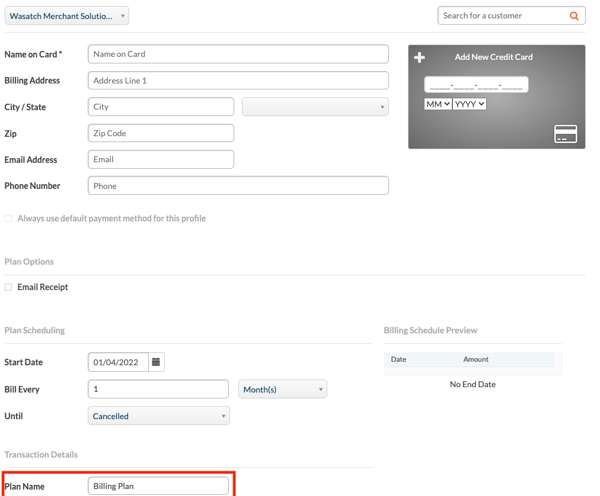
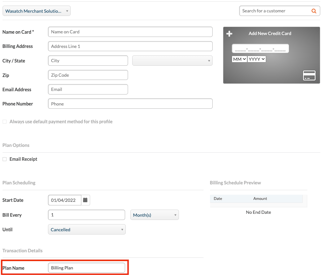
Enter the name of the billing plan.
STEP 9
Finally, just enter the amount the billing will process each time automatically!